
Drag and drop an image
or browse to upload.
File must be JPG, JPEG, PNG, WEBP and up to 40MB
Remove an object from an image online using Smart selection or a manual tool. Upload a JPG, PNG, or WEBP file, preview the result, and download it.
Drag and drop an image
or browse to upload.
File must be JPG, JPEG, PNG, WEBP and up to 40MB
Choose one image from your phone or computer. Files must be smaller than 40 MB.
Use Smart selection to outline an object, or switch to Brush, Box, and Eraser for direct control over the mask.
Start object removal, compare the result with the original, and download the processed image or refine the selection again.
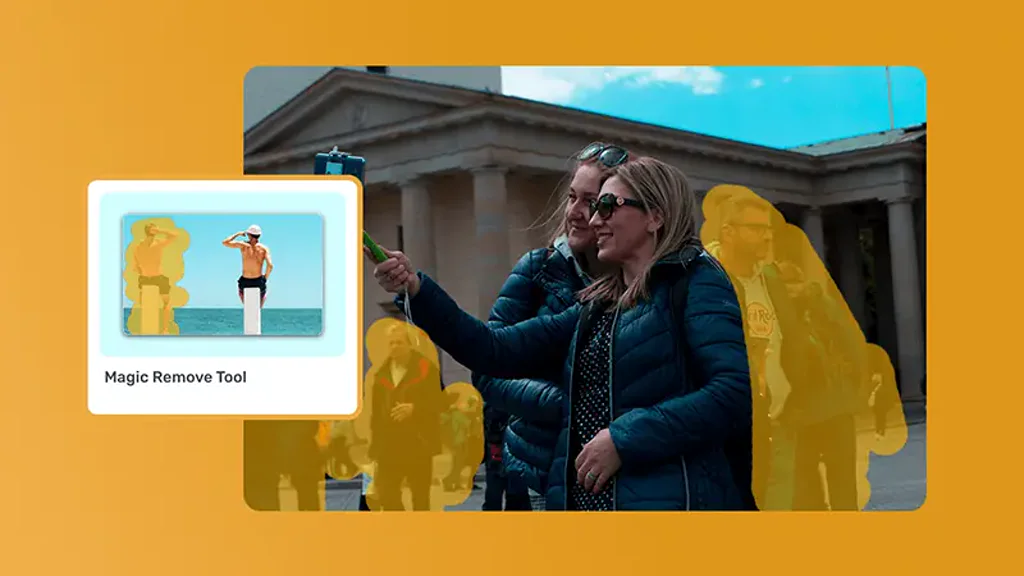
Draw over the unwanted item with Smart selection. The tool predicts a fuller object mask from your stroke, so you can start with a rough mark instead of tracing every edge. Review the highlighted area before processing and adjust it when the prediction includes too much or too little.
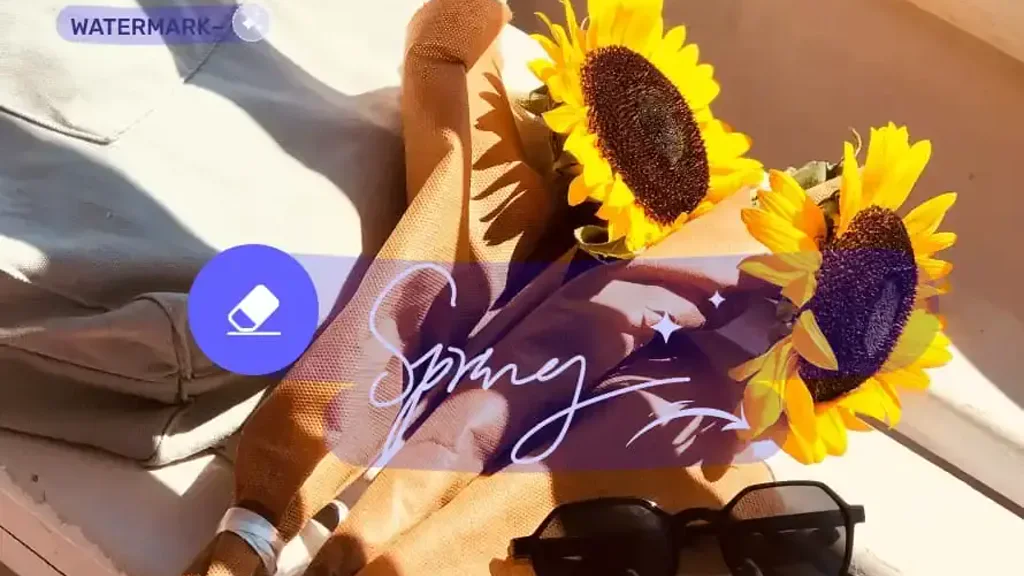
Switch to Brush for narrow details, Box for broad rectangular areas, or Eraser to remove part of the mask. Undo, redo, and reset controls let you correct the selection without uploading the image again. A precise mask is especially useful near faces, product edges, shadows, or repeating textures.
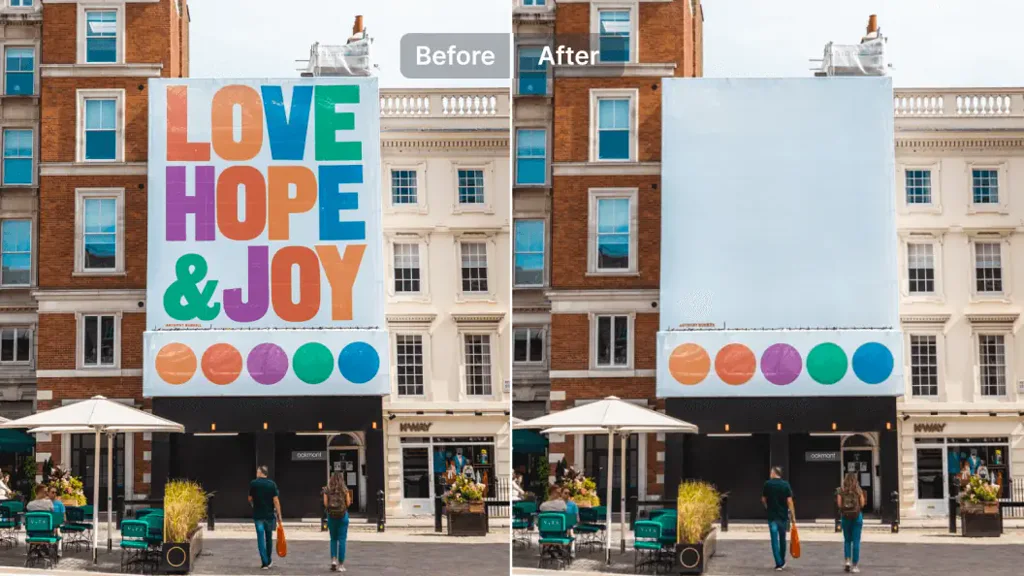
The selected pixels are processed together with visual context around the mask to rebuild the covered area. Simple backgrounds usually need a smaller selection, while large objects, strong shadows, and detailed patterns may need another pass. Preview the output instead of assuming every scene will produce the same result.
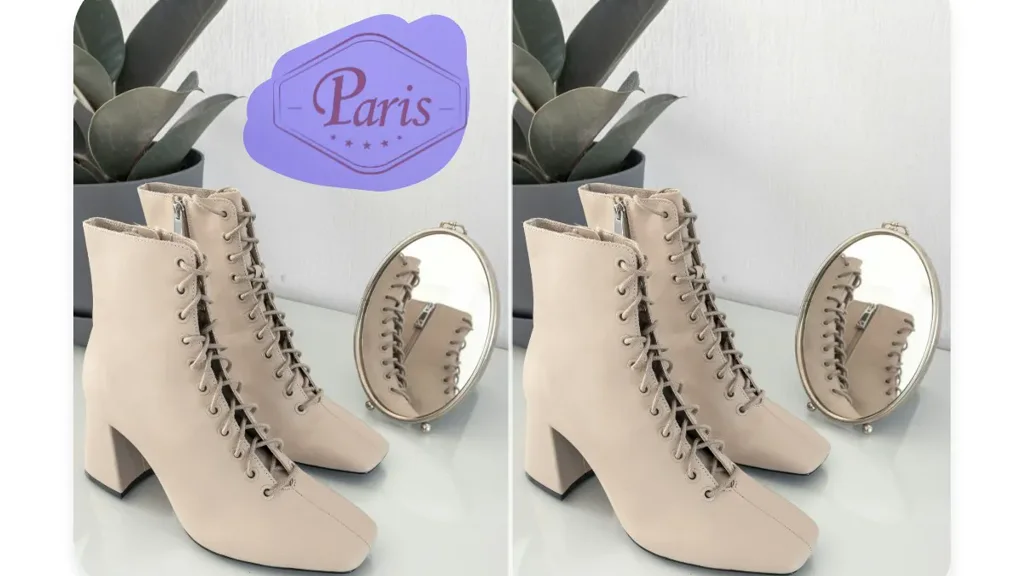
Press and hold the comparison control to check the processed image against the original. Download the result when the repaired area looks right, or choose Edit again to adjust the mask and submit another version without starting from an empty workspace.
Start with an AI-assisted mask, then use Brush, Box, or Eraser when the object boundary needs direct correction.
Upload, mark, process, compare, edit again, and download without moving the image between separate editors.
Review the marked area before submitting so nearby people, products, or background details are not included by accident.
Use common image formats from a phone or computer, including JPEG files, with a per-file limit below 40 MB.
Hold the comparison control over a completed result to inspect the repaired area against the original image.
A failed selection or download does not require a new page; correct the mask, retry processing, or download the retained result again.
Upload a JPG, PNG, or WEBP image, mark the object with Smart selection or a manual tool, and preview the processed result before downloading.